seoBOXX – Webdesign aus Selm in NRW!

Wer sind wir und was machen wir?
Wir sind Ihr leistungsstarker Partner aus Selm für Ihre neue Webseite, Webhosting, Wartung & Pflege von Bestandswebseiten und mehr! Durch unsere langjährige Berufserfahrung im Bereich Softwareentwicklung (mehr als 23 Jahre), Webdesign (mehr als 17 Jahre) und Webhosting (mehr als 11 Jahre) stehen wir Ihnen mit einem breit gefächerten Fachwissen gerne bei Ihren neuen Projekten sowie Bestandsprojekten als Ansprechpartner zur Seite.
Die Zusammenarbeit kann auf Wunsch von der anfänglichen Idee, über die Planung bis hin zur Umsetzung der Webseite und der späteren Betreuung, Wartung und Pflege erfolgen. Hier erstellen wir Ihnen gerne schnell und unverbindlich ein Angebot, zugeschnitten auf ihre Bedürfnisse und auf ihr zur Verfügung stehendes Budget.
Unsere Bewertungen sprechen für sich …


Dienstleistungen/Services/Headlines
Im Folgenden sehen Sie eine Übersicht unserer Dienstleistungen und Services rund um die Bereiche Webdesign, Suchmaschinenoptimierung, Datenschutzgrundverordnung (DSGVO/GDPR/RGPD) und SEO Software (WebsiteSpider und WebsiteAnalyser) etc.. Zudem die Verlinkungen zu den Referenzen und unserer Kontaktseite.

Webdesign
Wir bringen Sie ins Netz! Ob mit einem CMS (Content Management System), wie Joomla oder WordPress, oder mit HTML/CSS programmiert. Auch die Wartung und das Einpflegen neuer Inhalte übernehmen wir gern für Sie.
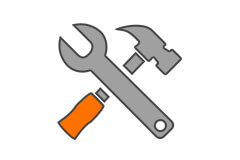
Wartung & Pflege
So wichtig wie das Design einer Webseite ist auch die Wartung & Pflege einer Webseite. Auch regelmäßige Backups/Datensicherungen gehören, grade bei der Nutzung eines Content-Management-Systems, wie zum Beispiel Joomla und WordPress, dazu.

Suchmaschinenoptimierung
Suchmaschinenoptimierung ist ein sehr weites Feld und in der heutigen Zeit auf dem Weg zu einer erfolgreichen Webseite und einem erfolgreichen Unternehmen schon fast unverzichtbar. Wir analysieren Ihre Webseite und erstellen ihnen eine, auf Ihre Webseite zugeschnittene, SEO Strategie.

DSGVO / GDPR
Wir übernehmen gern die technische Anpassung Ihrer Webseite auf die Erfordernisse der Datenschutz- grundverordnung (DSGVO/GDPR) nach einer vorherigen Prüfung, welche Anpassungen vorgenommen werden sollten. Ebenso erstellen wir Ihnen gern die Rechtstexte (Impressum für Webseite und Facebook, Datenschutzerklärung, Haftungsausschluss).

Blog | News
Unser Blog beinhaltet Unternehmensnews, News der Content Management Systeme Joomla und WordPress, sowie aus den Bereichen SEO und DSDVO/GDPR. Auch News und Updates der SEO Software WebsiteAnalyser werden hier veröffentlicht.
Webdesign für StartUp's
Für frisch gegründete oder in Gründung befindliche Unternehmen haben wir Sonderkonditionen für das Webdesign in Joomla oder WordPress. Auch in der weiteren Betreuung stehen wir Ihnen gern zur Seite.
Webhosting
Wir selbst bieten, über unseren Hostingpartner Alfahosting, Webhosting an und empfehlen, als langjähriger Kunde und Partner, Alfahosting als Hostingpartner. Selbstverständlich stehen wir ihnen auch gern als Partner für die Administration, Backups etc. zur Seite.

Ladezeit Optimierung
Ladezeit Optimierung wird grade auf den mobilen Endgeräten wie Smartphones und Tablet von den Suchmaschinen als hoher Rankingfaktor angesehen. Hierbei kommt es auf jede Millisekunde Ladezeit und jedes Byte Datei- oder Bildgröße sowie die Anzahl der Zugriffe an.
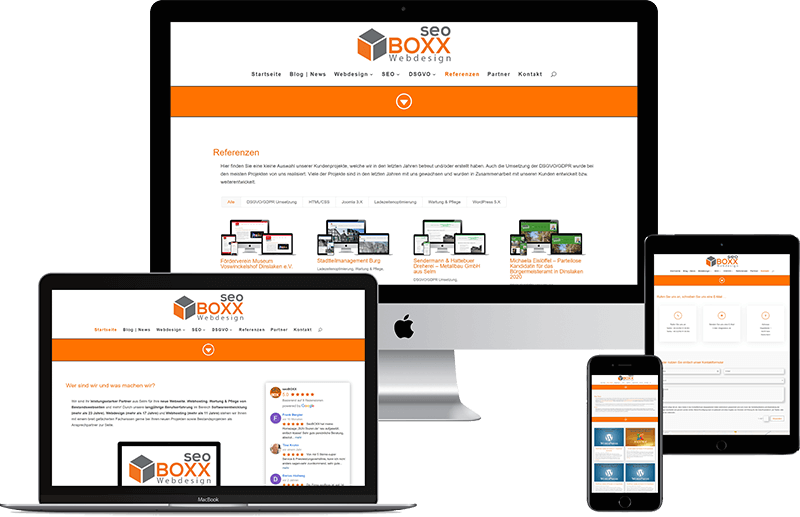
Referenzen
Schauen Sie sich unsere bereits erfolgreich umgesetzten, erstellten Webseiten in Joomla, WordPress oder HTML/CSS an, ebenso Webseiten bei denen wir die technische Umsetzung der DSGVO/GDPR vorgenommen haben, Webseiten die wir hosten oder bei denen wir die Wartung & Pflege im Rahmen eines Wartungsvertrages durchführen.
Webdesign Kostenkalkulator
Der „Webdesign Kostenkalkulator“ ist ein nützliches Tool zur Ermittlung des groben Kostenrahmens zur Erstellung einer Webseite. Probieren Sie jetzt unseren Webdesign Kalkulator unverbindlich aus und ermitteln Sie den ungefähren Kostenrahmen Ihrer neuen Webseite.

Providerwechsel
Auf Wunsch führen wir auch gern Ihren Domainumzug, Webseitenumzug, Serverumzug bis hin zum kompletten Providerwechsel für Sie durch. Hierbei führen wir für Sie entweder Teilarbeiten, wie Datenbank- und Dateitransfer, oder die kompletten Arbeiten durch.
SEO Software
Unsere selbst entwickelte SEO Analyse Software WebsiteAnalyser bietet eine Fülle an Funktionen und neben mehr als 40 Analysen zur DSGVO/GDPR in der Professional Version mehr als 230 Analyseansichten, Berichte, Sitemap-Assistenten und Downloader.

Partner
Erfahren Sie mehr über unsere starken Partner, wie zu Beispiel die Agentur für Werbung – Ria Herrmann aus Voerde (Printmedien, Werbemittel, Giveaways), den Hostinganbieter Alfahosting (Domains, SSL, Hosting, Server) und das bekannte Rechtsportal eRecht24, und deren Leistungen und Produkte im Bereich DSGVO.

Kontakt
Unsere detaillierten Kontaktmöglichkeiten finden Sie hier. Da wir keine, für den Kundenverkehr öffentlich zugänglichen, Büroräume nutzen, möchten wir Sie bitten uns via E-Mail, über das Kontaktformular oder telefonisch zu kontaktieren.
Kontaktieren Sie uns und lassen Sie sich von uns kostenlos beraten!
Webdesign Kostenkalkulator
Der „Webdesign Kostenkalkulator“ hilft Ihnen bei der groben Kalkulation der Erstellungskosten ihrer Webseite. Hier sind grundlegende Kostenrahmen für verschiedene Leistungen unsererseits hinterlegt. Dies geht von der Wahl des Content Management Systems über die verschiedenen Standardseiten und Inhaltsseiten bis hin zu möglichen Sonderfunktionen und Zusatzleistungen.
Die berechneten Kosten des „Webdesign Kostenkalkulator“ gelten als grober Kostenrahmen und sind in keinster Weise als Angebot unsererseits zu verstehen. Ein für uns bindendes Angebot kann selbstverständlich erst nach einem telefonischen Kontakt , E-Mail Kontakt oder persönlichen Gespräch erstellt werden und berücksichtigt weitaus mehr Einzelheiten als sie im „Webdesign Kostenkalkulator“ angeboten werden.
Probieren Sie den „Webdesign Kostenkalkulator“ aus und kontaktieren Sie uns gern um ein auf Sie, ihre Anforderungen und ihre Vorstellungen zugeschnittenes Angebot von uns zu erhalten.


Was kostet die Erstellung einer Webseite?
Sie können die kompletten Kosten der Erstellung einer Webseite, vom Content Management System über die Anzahl der Seiten und Beiträge bis hin zu Sonderfunktionen, mit unserem Tool, dem Webseiten Kostenkalkulator, schnell und einfach kalkulieren und überschlagen und sich zudem noch ein abschließendes Angebot von uns anfordern.
Vielen Dank, wir werden Ihre Anfrage zeitnah bearbeiten und mit Ihnen in Kontakt treten.
Content Management System
Wählen Sie welches Content Management System zur Erstellung ihrer Webseite genutzt werden soll!
WordPress : 200€
Joomla : 200€
Welche Standardseiten werden für die Webseite benötigt?
Treffen Sie eine Auswahl der Standardseiten, die Sie auf Ihrer Webseite benötigen.
Die Startseite/Landingpage Ihrer zu erstellenden Webseite.
Eine News/Blog Seite mit vorbereiteten Kategorien, um später schnell und einfach Newsbeiträge/Blogposts zu erstellen.
Das Impressum von eRecht24 (einmalig erstellt nach Ihren Angaben)
Die Datenschutzerklärung von eRecht24 (einmalig erstellt nach Ihren Angaben)
Die Kontaktseite mit Kontaktdaten und Kontaktformular (Voraussetzung für die Verwendung eines Kontaktformulars ist die Nutzung eines SSL Zertifikats für die Webseite/Domain)
Wieviele zusätzliche Seiten für Inhalte werden benötigt?
Wählen Sie hier die Anzahl der Seiten für Inhalte aus, die zusätzlich erstellt werden sollen.
Seiten bzw. Unterseiten für Inhalte wie Produkte, Dienstleistungen, Beschreibungen, Hilfetexte, Downloades etc..
Welche Sonderfunktionen werden für die Webseite benötigt?
Treffen Sie eine Auswahl der Sonderfunktionen die Sie für Ihre Webseite benötigen.
Installation einer Backuplösung und Konfiguration. Enthalten ist auch ein abschließendes Backup.
Installation und Grundkonfiguration von VirtueMart für Joomla oder WooCommerce für WordPress (dies beinhaltet keine Templates oder Themes für den Shop)
Installation und Grundkonfiguration des eRecht24 Safe Sharing Tools für datenschutzkonformes Teilen von Inhalten auf Facebook, Twitter & Co.
Zusatzleistungen
Grundlegende Arbeiten, welche nicht direkt mit dem Webdesign zu tun haben.
Einrichten von bis zu 20 E-Mail Adressen nebst der zugehörigen Postfächer auf Ihrem Webspace
Erstellen eines Accounts für die Google Search Console und Einreichen einer Sitemap für Ihre Seite.
Erstellen eines Accounts für Google Analytics und Einbinden des DSGVO-konformen Tracking Codes mit anonymisierten IP Adressen in ihre Webseite.
Optimierung und Anpassung der Inhalte für eine schnellere Ladezeit der Webseite. Nutzung von Caching PlugIns und Lazyloading PlugIns inkl. Konfiguration.
Wir melden Sie bei den großen Suchmaschinen an und machen Ihre Webseite im Netz sichtbar. (Google, Bing, Yahoo etc.)
Wieviele zusätzliche Blogeinträge /Blogbeiträge werden benötigt?
Wählen Sie hier die Anzahl der Blogeinträge/Blogbeiträge aus, die zusätzlich erstellt und in den Blog eingepflegt werden sollen.
Beiträge für den Blog wie Produktankündigungen, Dienstleistungsangebot, Rabattaktionen, Hinweise, Sonderpreis, Veranstaltungen etc..
Kalkulierte Kosten der Webseitenerstellung
Die kalkulierten Kosten für die Webseite auf Grund Ihrer Eingaben betragen
Zusammenfassung
| Beschreibung | Information | Menge | Preis |
|---|---|---|---|
| Rabatt: | |||
| Summe: | |||
Die hier kalkulierten Kosten stellen kein Angebot von uns dar sondern bieten Ihnen lediglich die Möglichkeit die Kosten vorab abschätzen zu können. Es kommen bei der Erstellung von Webseiten immer viele Faktoren dazu, welche letzten Endes berücksichtigt werden müssen.
Blog | News
Unser News Blog bietet immer aktuelle News zu firmeninternen Änderungen unserer Leistungen und Services und technischen Neuerungen der Content Management Systeme Joomla und WordPress. Weiterhin gibt es hier Neuigkeiten und Informationen zum Thema Datenschutzgrundverordnung (DSGVO/GDPR). Darüber hinaus finden Sie in unserem Blog News zur Suchmaschinenoptimierung (SEO) sowie zu Neuerungen unserer beliebten SEO Software, dem seoBOXX WebsiteAnalyser.
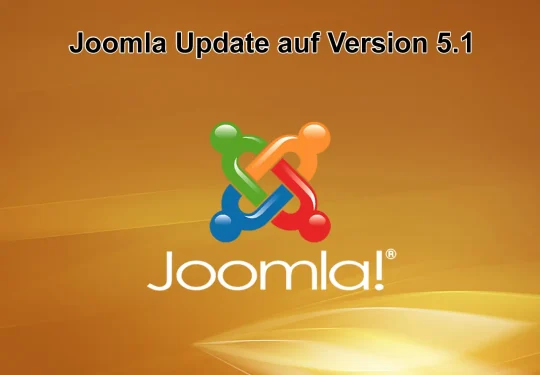
Joomla Update auf Version 5.1 erschienen
Welche Neuerungen sind im Joomla! Update auf Version 5.1 enthalten? Seit Dienstag, den 16. April 2024 steht das Joomla! Update auf die Version 5.1 zum Download zur Verfügung. Das Joomla! Update behebt 247 Fehler und enthält zahlreiche Neuerungen und Verbesserungen....
Joomla Update auf Version 4.4.4 erschienen
Welche Neuerungen sind im Joomla! Update auf Version 4.4.4 enthalten? Seit Dienstag, den 16. April 2024 steht das Joomla! Update auf die Version 4.4.4 zum Download zur Verfügung. Das Joomla! Update behebt 41 Fehler und enthält zahlreiche Neuerungen und...
WordPress Update auf Version 6.5.2 erschienen
Welche Neuerungen sind im WordPress Update auf Version 6.5.2 enthalten? Seit Dienstag, den 9. April 2024 steht das WordPress Update auf die Version 6.5.2 zum Download zur Verfügung. Das WordPress Update schließt 1 Sicherheitslücke, behebt 3 Fehler im WordPress Core...
WordPress Update auf Version 6.5 „Regina“ erschienen
Welche Neuerungen sind im WordPress Update auf Version 6.5 enthalten? Seit Dienstag, den 2. April 2024 steht das WordPress Update auf die Version 6.5 zum Download zur Verfügung. Das WordPress Update behebt 263 Fehler und enthält zahlreiche Neuerungen und...
Services | Dienstleistungen
Wir bieten Ihnen den vollen Service rund um das Thema Webdesign und Webseiten in Selm, Bork, Olfen, Vinnum, Nordkirchen, Südkirchen, Capelle, Cappenberg, Lünen, Alstedde, Brambauer, Lüdinghausen, Seppenrade, Werne, Waltrop, Datteln, Oer-Erkenschwick sowie in den Kreisen Unna, Hamm, Coesfeld, Recklinghausen, Warendorf, Steinfurt. Weiterhin sind wir auf Wunsch auch in NRW oder auch bundesweit tätig.
Hierzu zählen wir ebenso die kostenlose Beratung und selbstverständlich ein kostenloses und unverbindliches Angebot an Hand ihrer Vorgaben und Wünsche.
Unser Webdesign Service
- Webdesign | Webseiten | Webshops
- Webdesign | Webseiten | Webshops für Existenzgründer
- Webdesign | Webseiten | Webshop Kostenkalkulator
- Wartung | Pflege | Wartungsvertrag
- Providerwechsel | Domaintransfer
- Webhosting | Webserver | Webspace
Unser SEO Service
- SEO | Suchmaschinenoptimierung | SEO-Analysen
- Ladezeitoptimierung | Pagespeedoptimierung
- SEO Software | SEO Tool WebsiteAnalyser